Today’s quick tip is about exporting photos from CaptureOne for social media.
In my last quick tip about diffraction correction, I talked about the so-called three-stage sharpening in Capture One. The first stage corrects the flaws, and the second stage sharpens the RAW image, which is always needed after demosaicing. The third stage sharpens images during export – if you downscale your photos, you need to restore some details. Capture One offers a perfect tool in export settings. It doesn’t depend if you use Export Variants function (your only choice if you are Capture One Express user) or processing with Recipes in Output tab. In both cases, sharpening is available in Adjustments panel:
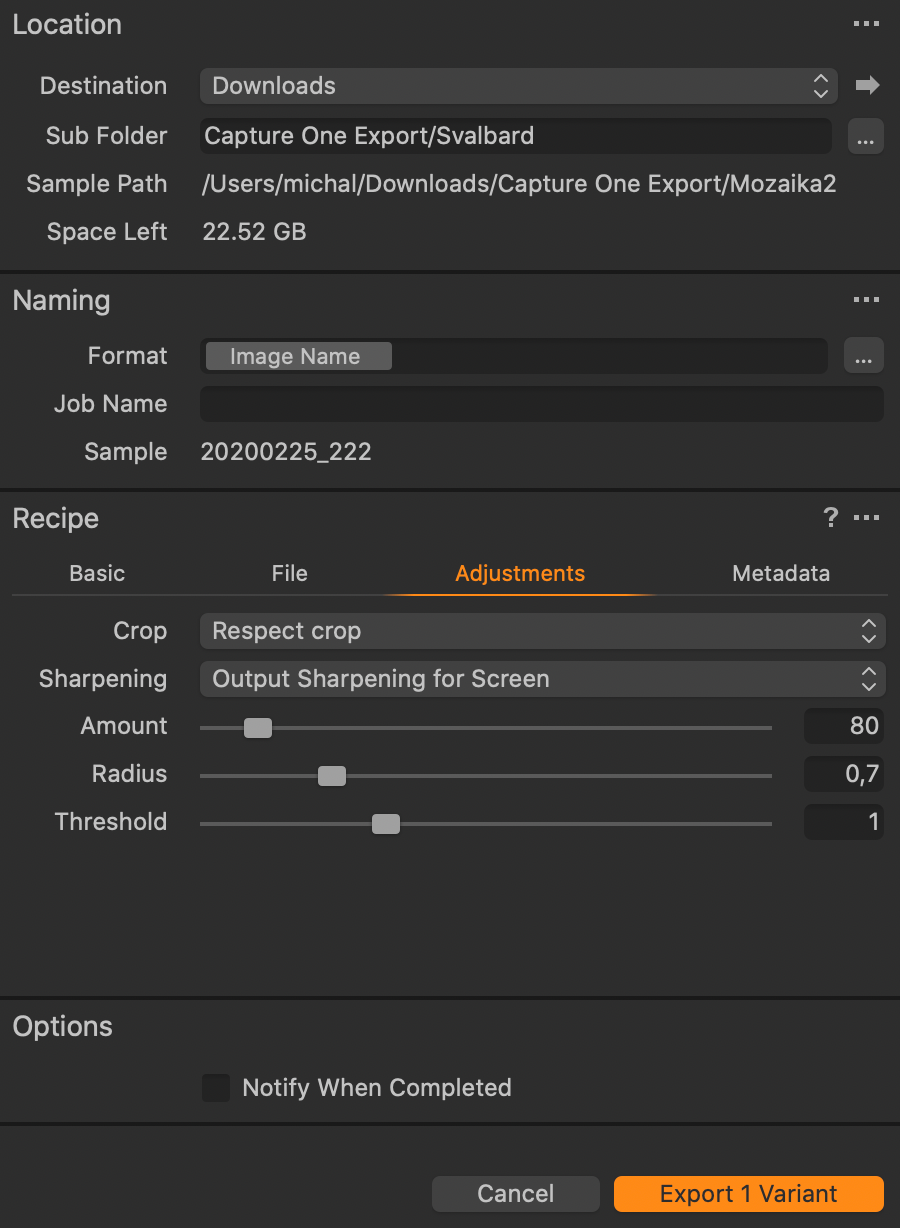
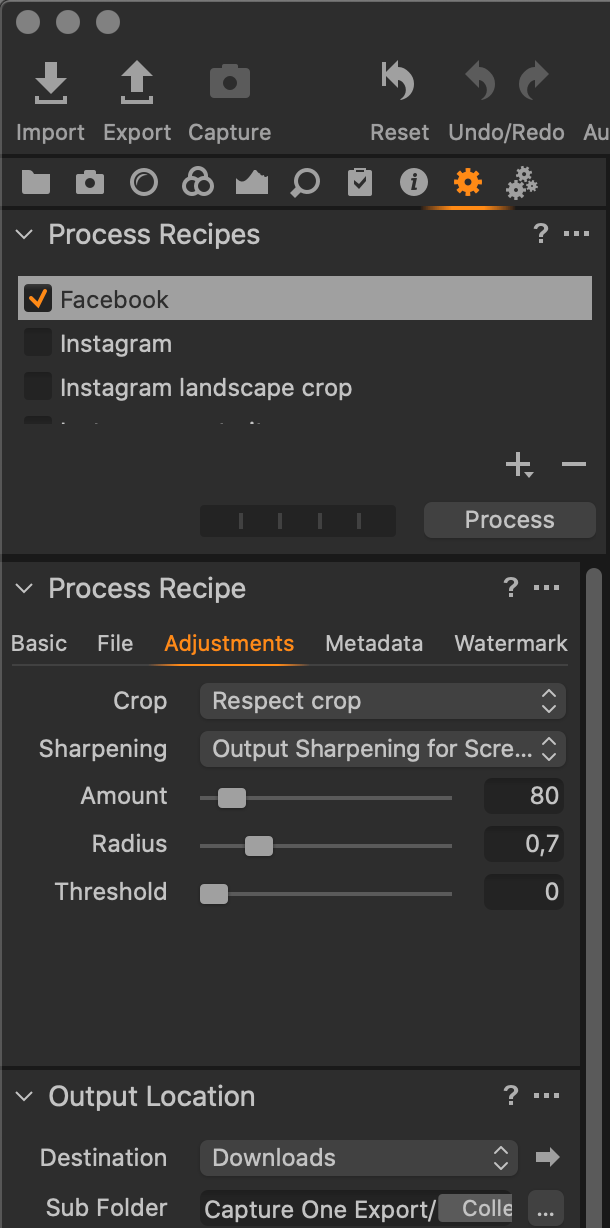
It offers many possibilities I am thoroughly describing in my e-book, but you can manage many common scenarios like exporting for social media with single settings. These values work reasonably well for my cameras Fujifilm X-T2 and X-T3 cameras:
- Sharpening: Output Sharpening for Screen
- Amount: 80
- Radius: 0,7
- Threshold: 1
The same settings will work for other Fujifilm cameras with the same sensors and you can try them even if you use different cameras with a similar resolution between 20 and 24 megapixels. For higher resolutions, you may need to experiment a bit.
Other settings may be suitable in case when you downscale photo only a little. And you absolutely should not sharpen photos exported in full size – then no sharpness degradation occurs so additional sharpening would lead to over-sharpened image. Using Process Recipes in Output tool tab makes it easier as you can set different sharpening for each recipe, but this feature is available only in Capture One Pro.
My social media export workflow
Over time I fine-tuned a workflow with which I achieve optimal image quality when publishing photos to social media:
- I export photos from Capture One in final sizes. I use Process Recipes I have created for Facebook and Instagram. I will show you both of them later. Thanks to recipes it is easy to create files for both platforms at one time. If you use Capture One Express, you can use the same settings in Export Variants dialog.
- I use the TIFF format for exporting because I am adding watermark to images and I don’t want to degrade image quality by editing JPEGs. After exporting, I open TIFF files for Facebook and Instagram in Affinity Photo, add watermarks and save both files with layers that allow me to remove or reposition watermark later. Sometimes, I also crop the image for Instagram in this step.
- I export final images for sharing – I use JPEG with 100 % quality for Instagram and PNG for Facebook. I don’t do any other processing or sharpening in Affinity Photo – it was done during Capture One export.
Process Recipe for Facebook
Here is my Facebook process recipe:
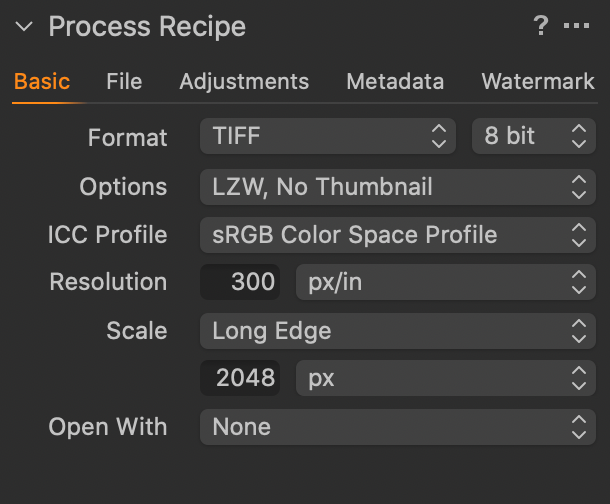
On the Basic panel, I set TIFF format, because I will later add watermark in Affinity Photo. I don’t do it in Capture One, because it doesn’t allow me to specify a watermark position separately for every image. If you don’t need to add a watermark, you can go with PNG Format here (other settings will remain the same). The final image size is set to 2048 pixels on the long edge – the second dimension will be computed using the original aspect ratio.
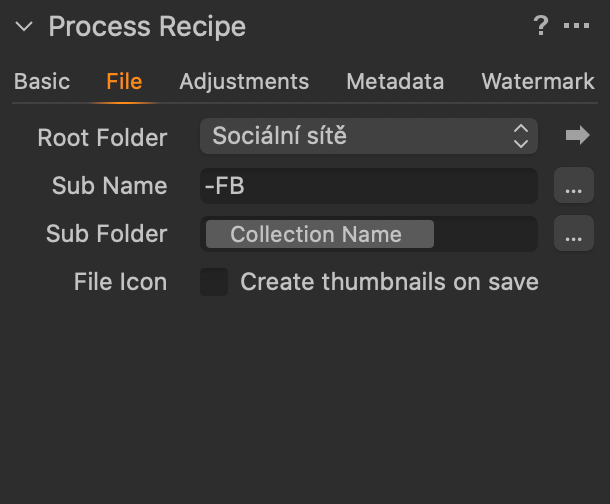
On File panel, I can set the output folder (Root Folder). In this case, I use Social Media folder with Sub Folder named by the collection name of the photo. I also set the Sub Name which allows me to rename exported files – I will show you how it works later.
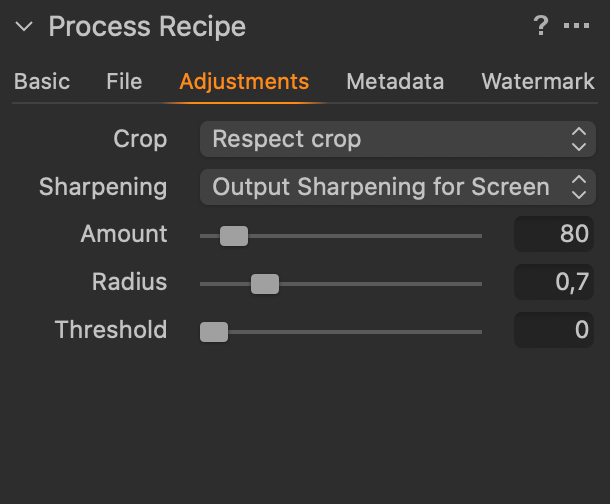
Adjustments panel is important because it is the place where we set output sharpening settings. I use the values mentioned earlier in this post.
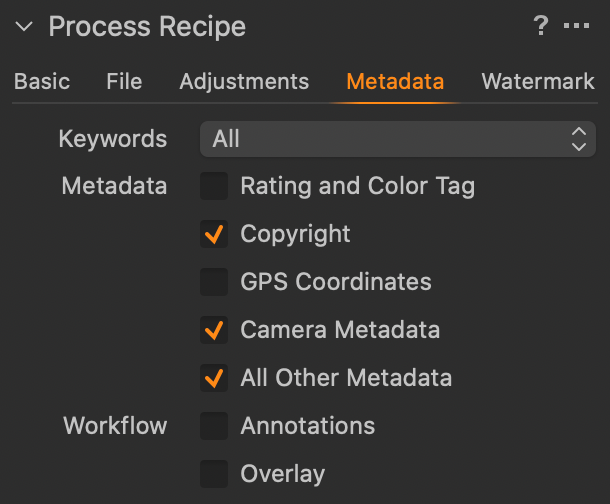
I am exporting images with most of the metadata included. I don’t think it is necessary to hide exposure data and so. I omit GPS Coordinates only because poachers sometimes look for them in wildlife photos, and ratings with the color tag too as these are not useful for another person than me.
Process Recipe for Instagram
Instagram export is a bit more complicated because it requires exact aspect ratios – images not complying with them could be cropped. This is my main recipe:
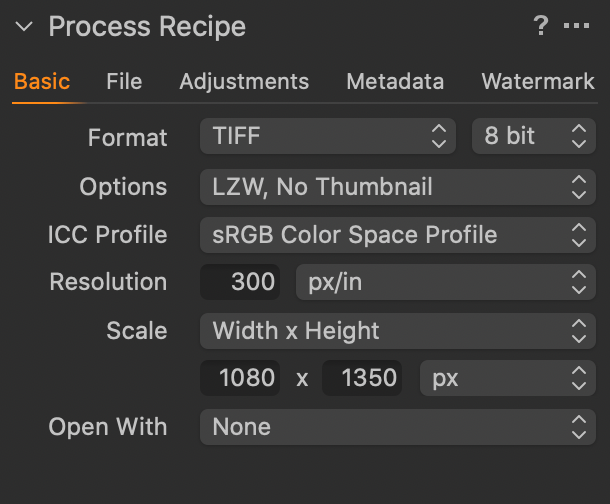
Basic settings for Instagram differ only in image size definition – it is not determined by the long edge, but by width (1080 pixels) and height (1350 pixels) limits. The photo will be scaled to fit into this rectangle using the original aspect ratio. Resulting files will have the right size for sharing if the original is landscape-oriented photo, portrait-oriented 4 by 5 photo, or a square. If your photo doesn’t meet these conditions, you will need to edit it a bit – I will tell you how later.

I use the same settings in the File panel like for Facebook, the only difference is in Sub Name which is used for renaming the files – I use -IG suffix here.
As I said, this export works perfectly for landscape-oriented images, for portrait-oriented images with 4:5 aspect ratio and squares. You can upload such photos directly to Instagram and just disable automatic square cropping during submitting. But what if your photo is a portrait-oriented with the different aspect ratio?
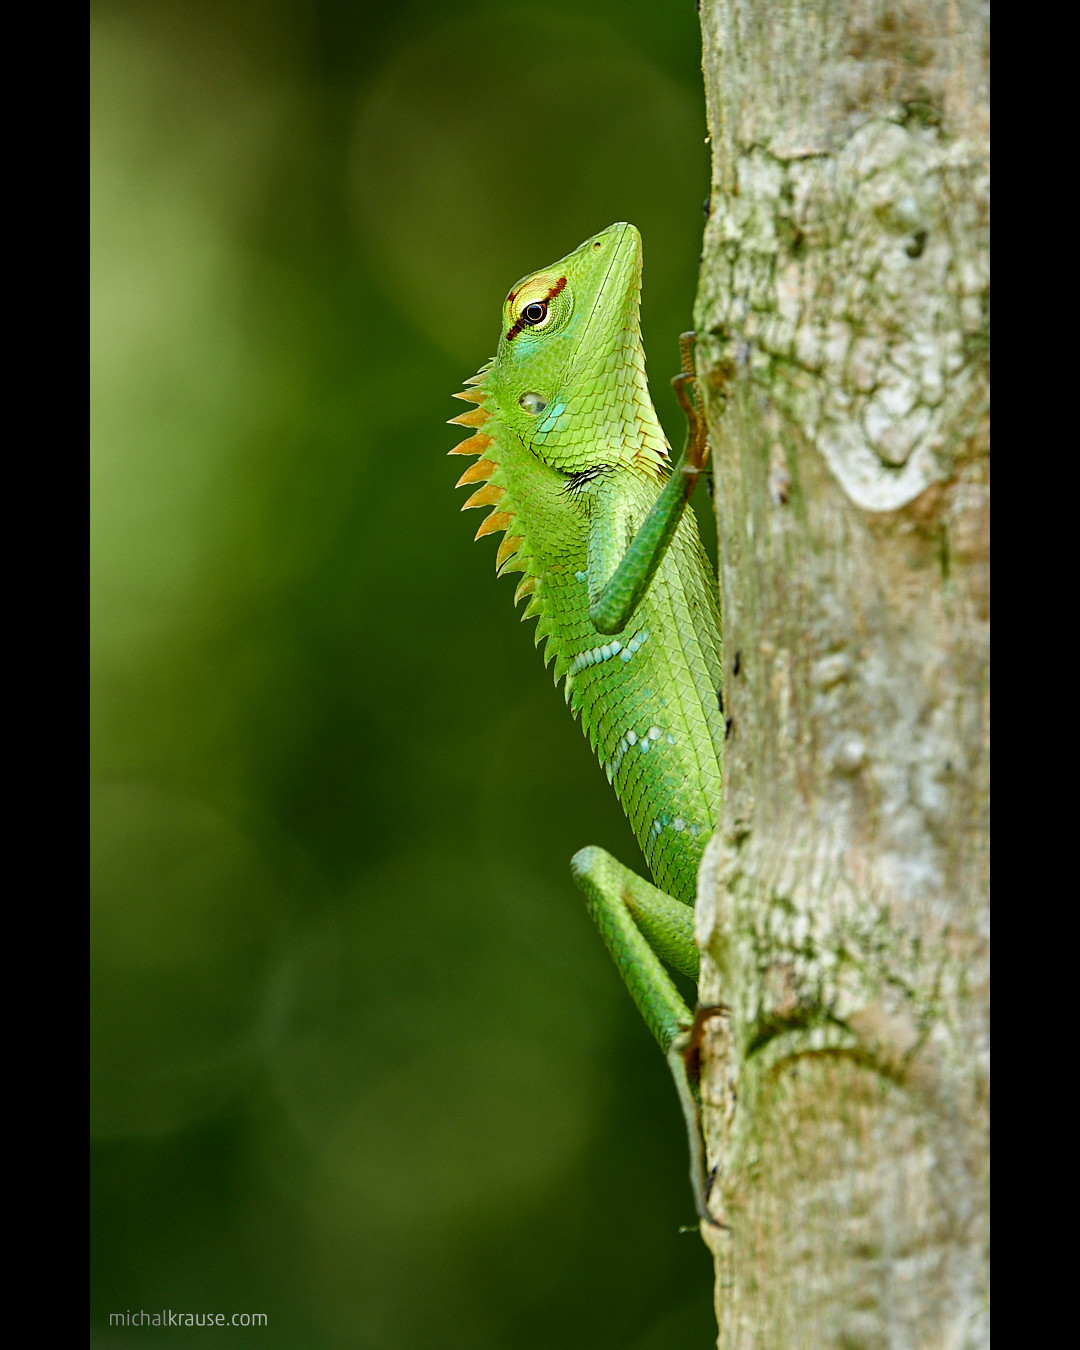
If you don’t want to change the composition, you need to add borders (mostly white or black) to the image to maintain a 4:5 ratio. For example, if your image is 2:3 portrait, it will be exported as 900×1350 pixels. Then you will need to add borders in some photo editor (Capture One cannot do it for you) to get 1080×1350 image like this:
If you don’t mind creating a different crop for Instagram, you can do it in Capture One (best using a special variant of an image) and then export it as described above. I prefer to export the 1080 pixels wide image and do the crop in the Affinity Photo when adding the watermark. The advantage is that this way you don’t have additional unnecessary variants in your Capture One catalog. For this purpose, I have created a different process recipe called Instagram Portrait Crop:
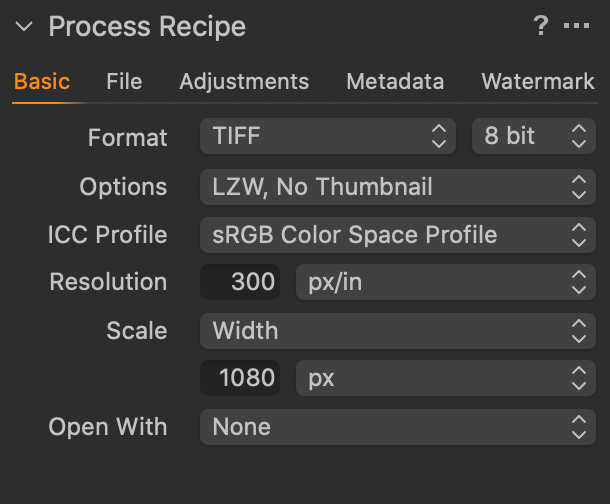
As you can see, the final size is limited by the width of 1080 pixels. The height of the image is computed using the original aspect ratio. For 2:3 portrait it will be 1620 pixels, so I then crop 270 pixels out in Affinity Photo to get 4:5 ratio. Other settings are the same as for standard Instagram recipe except I use different Sub Name in File panel to distinguish files for cropping later – I use the -IGc suffix here.
Naming exported files
It is not sufficient to fill Sub Name in process recipes to have exported files named correctly – you need to use this value too. It can be done in Output Naming palette:
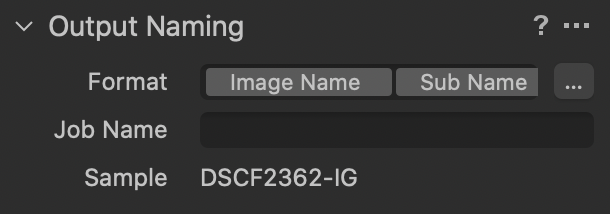
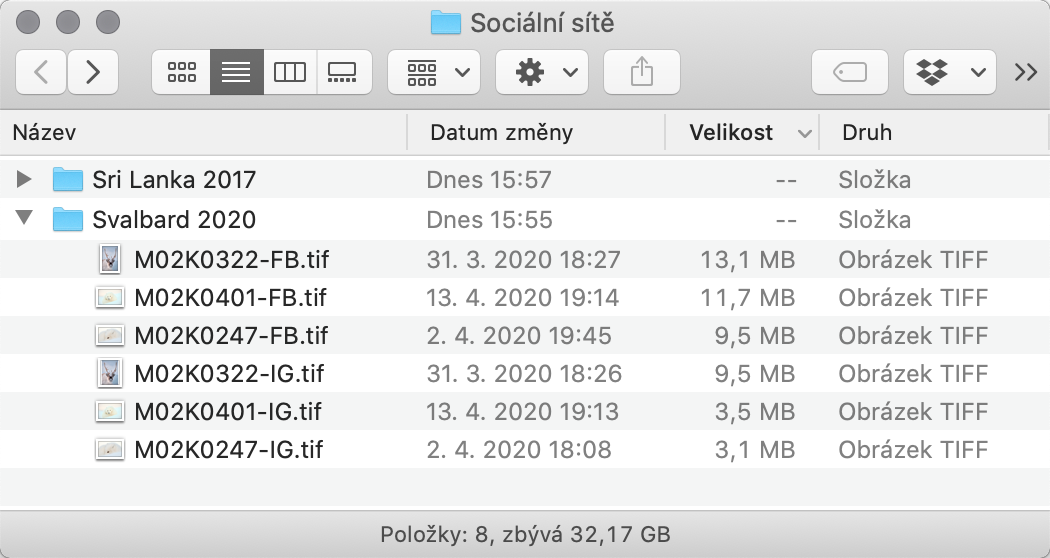
Notice, that final file name (Format) is composed of two tokens: the Image Name is an original file name, and Sub Name is the value from process recipe. You can see the resulting file name for the selected variant in the Sample field (DSCF2362-IG in this case). Exported files may look like this:
Conclusion
This is my workflow for exporting photos for social media from Capture One with some finishing in Affinity Photo (in most cases, only adding the watermark). Key elements of the workflow are:
- Sharpening of images during the export with these values: Amount = 0,8 / Radius = 0,7 / Threshold = 1 (you may need to experiment with these values if you use camera with significantly higher resolution then 24 megapixels)
- I use PNG with the long edge of 2048 pixels for sharing to the Facebook
- For Instagram, I use 100 % quality JPEG files downscaled to the size not exceeding 1080×1350 pixels. I am adding white or black borders to the portrait-oriented images with an aspect ratio different than 4:5 to prevent Instagram from cropping it.
Do you want to master Capture One?
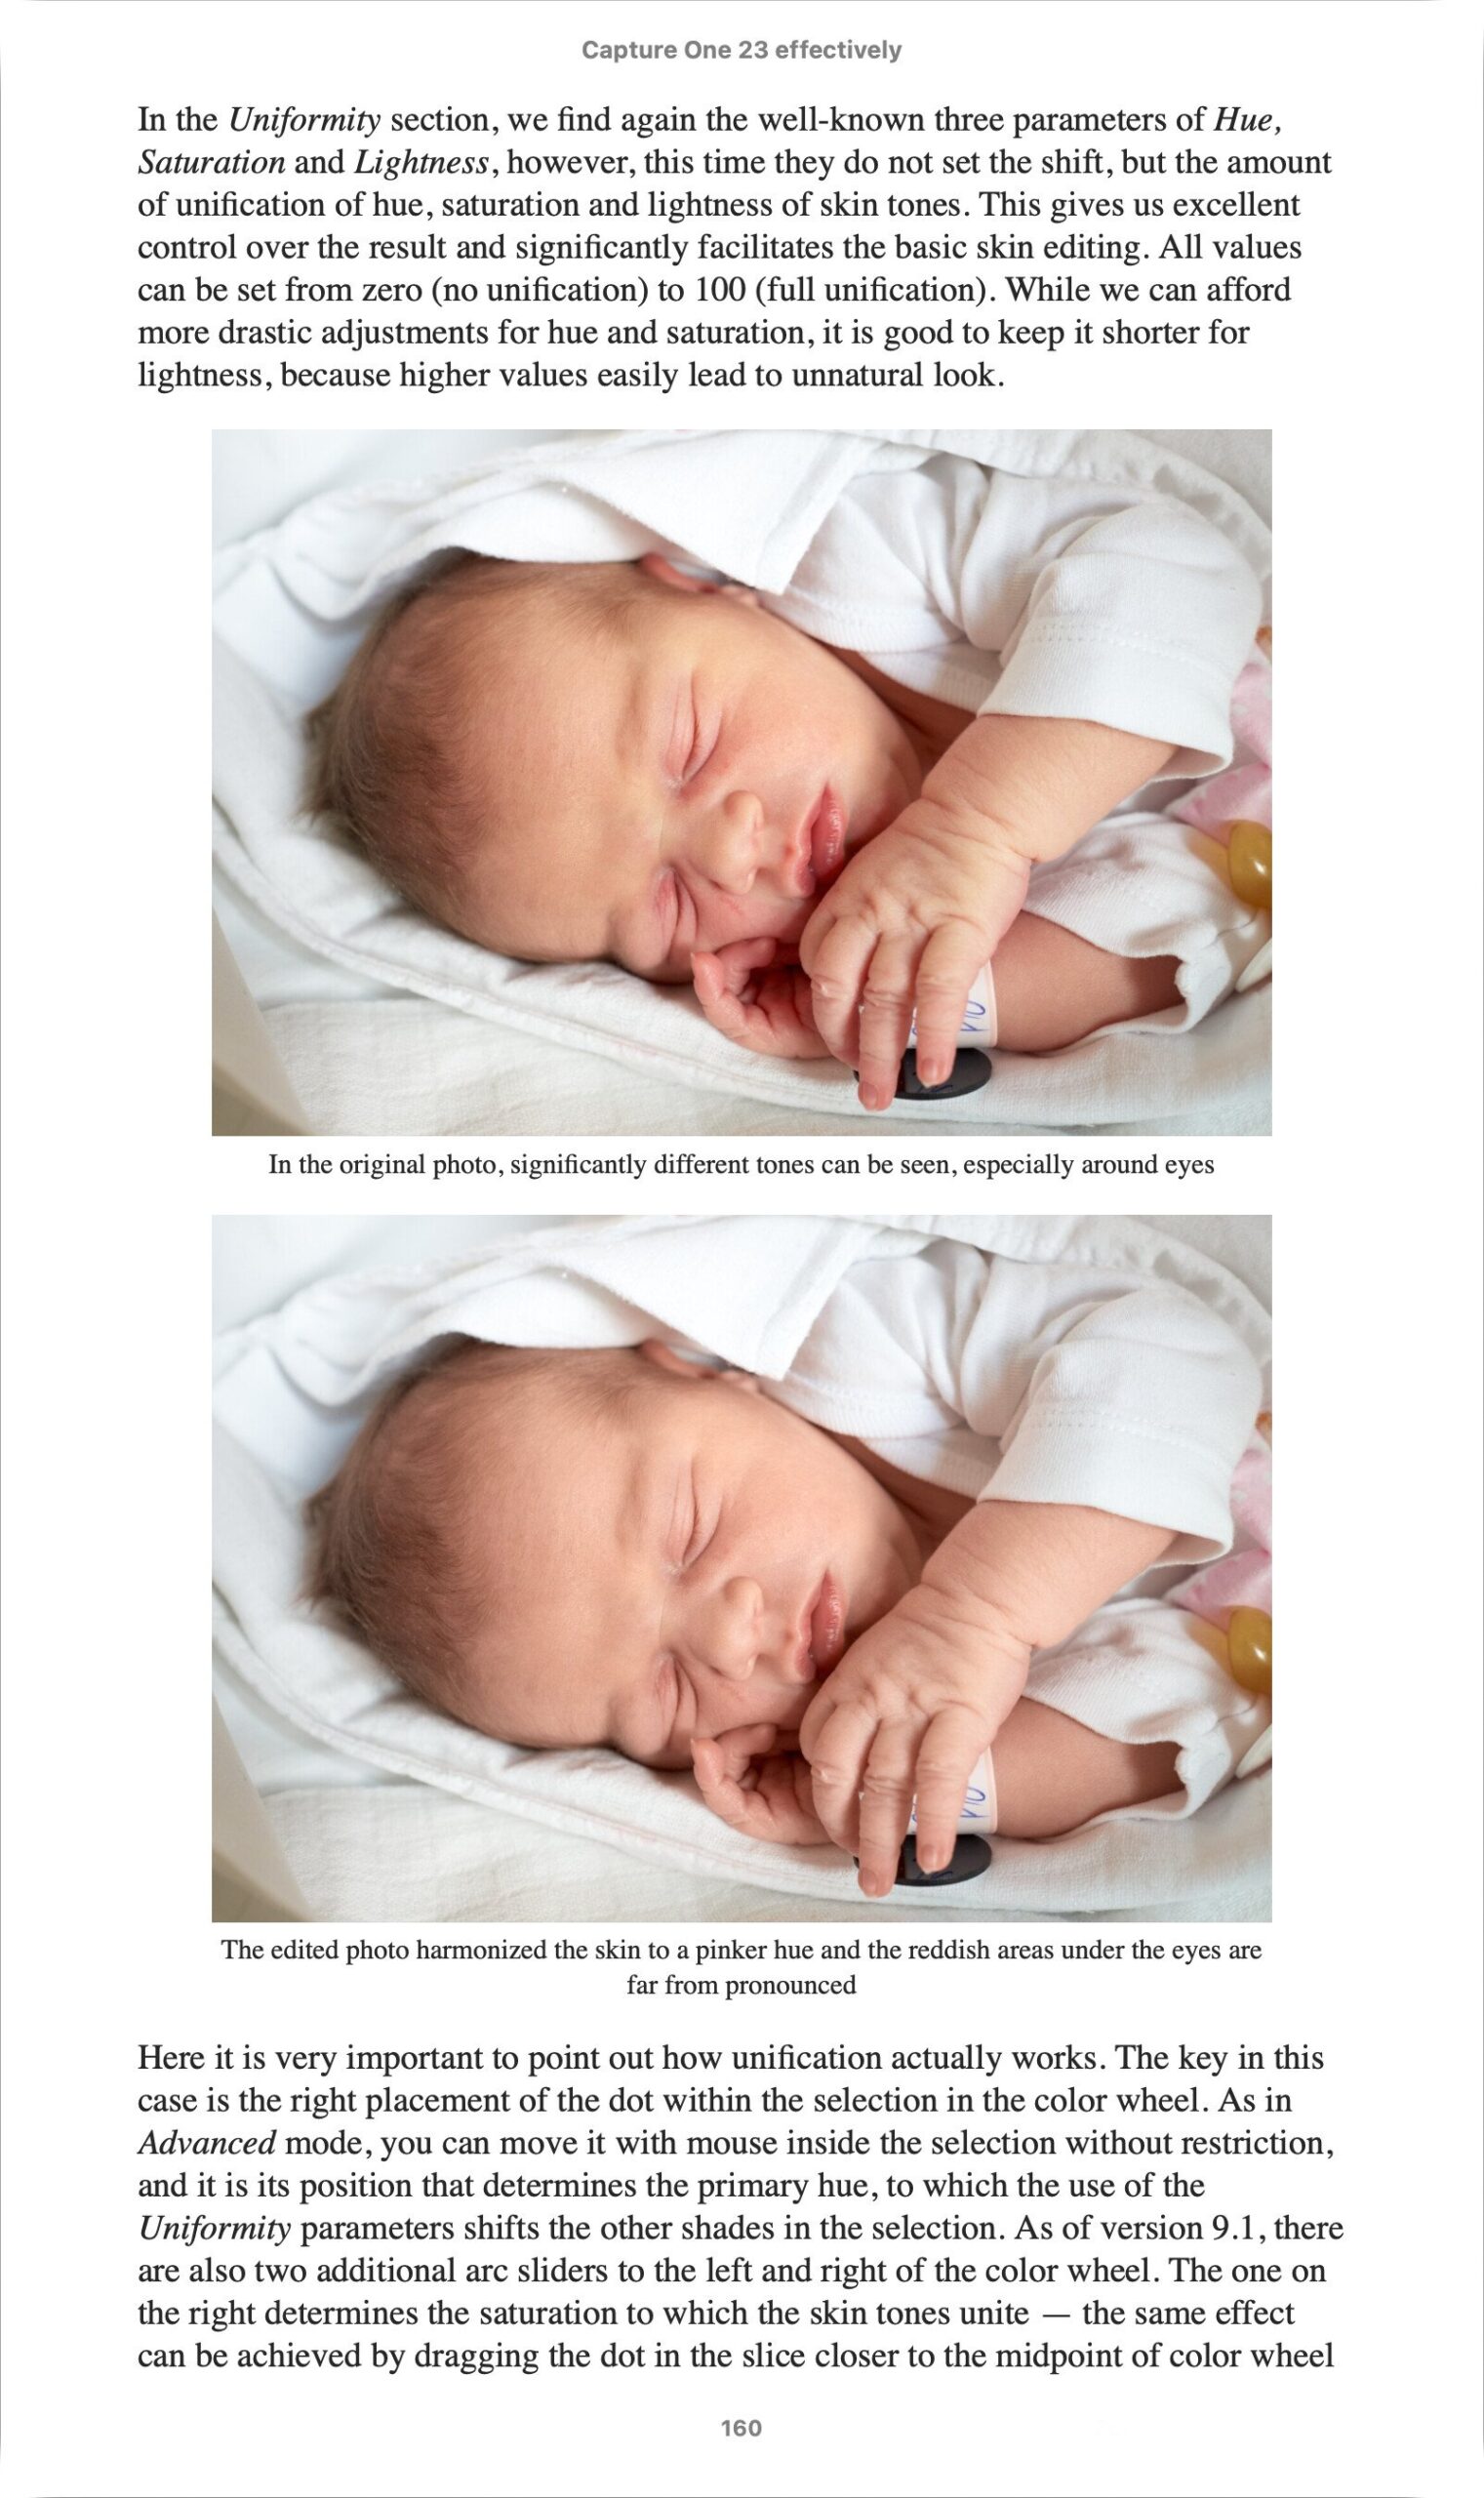
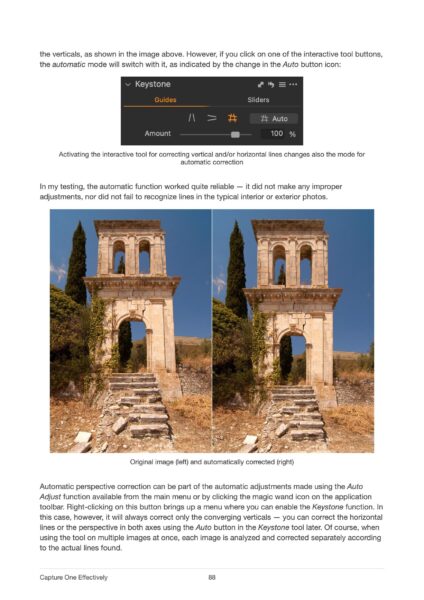
You can buy my e-book Capture One: Work Effectively — a complete guide to this professional photo management and editing application. The well-organized content helps you master the entire process, from importing and organizing photos to editing, managing metadata, and finally printing or exporting.
It also includes tips for those switching from other tools like Adobe Lightroom, as well as a detailed description of my own workflows that I’ve refined over years of using Capture One to process my photos.
The e-book is available in formats suitable for e-book readers and as a more than 400-page PDF.
