Capture One offers luminosity masks (Luma Range) for some time which allows you to limit local adjustments to a certain range of brightness. It lacks a similar feature called Color Range that would limit adjustments to specific colors, but you can imitate it quite well with a little effort.
This tip depends on local adjustments, so it doesn’t work in the free Capture One Express, but only in the full-featured Capture One Pro version.
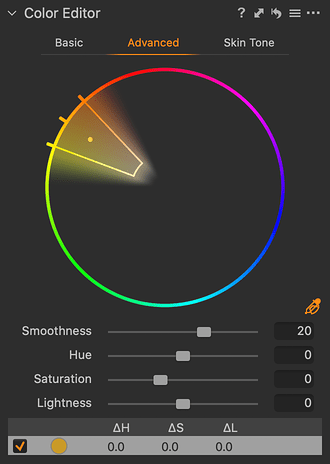
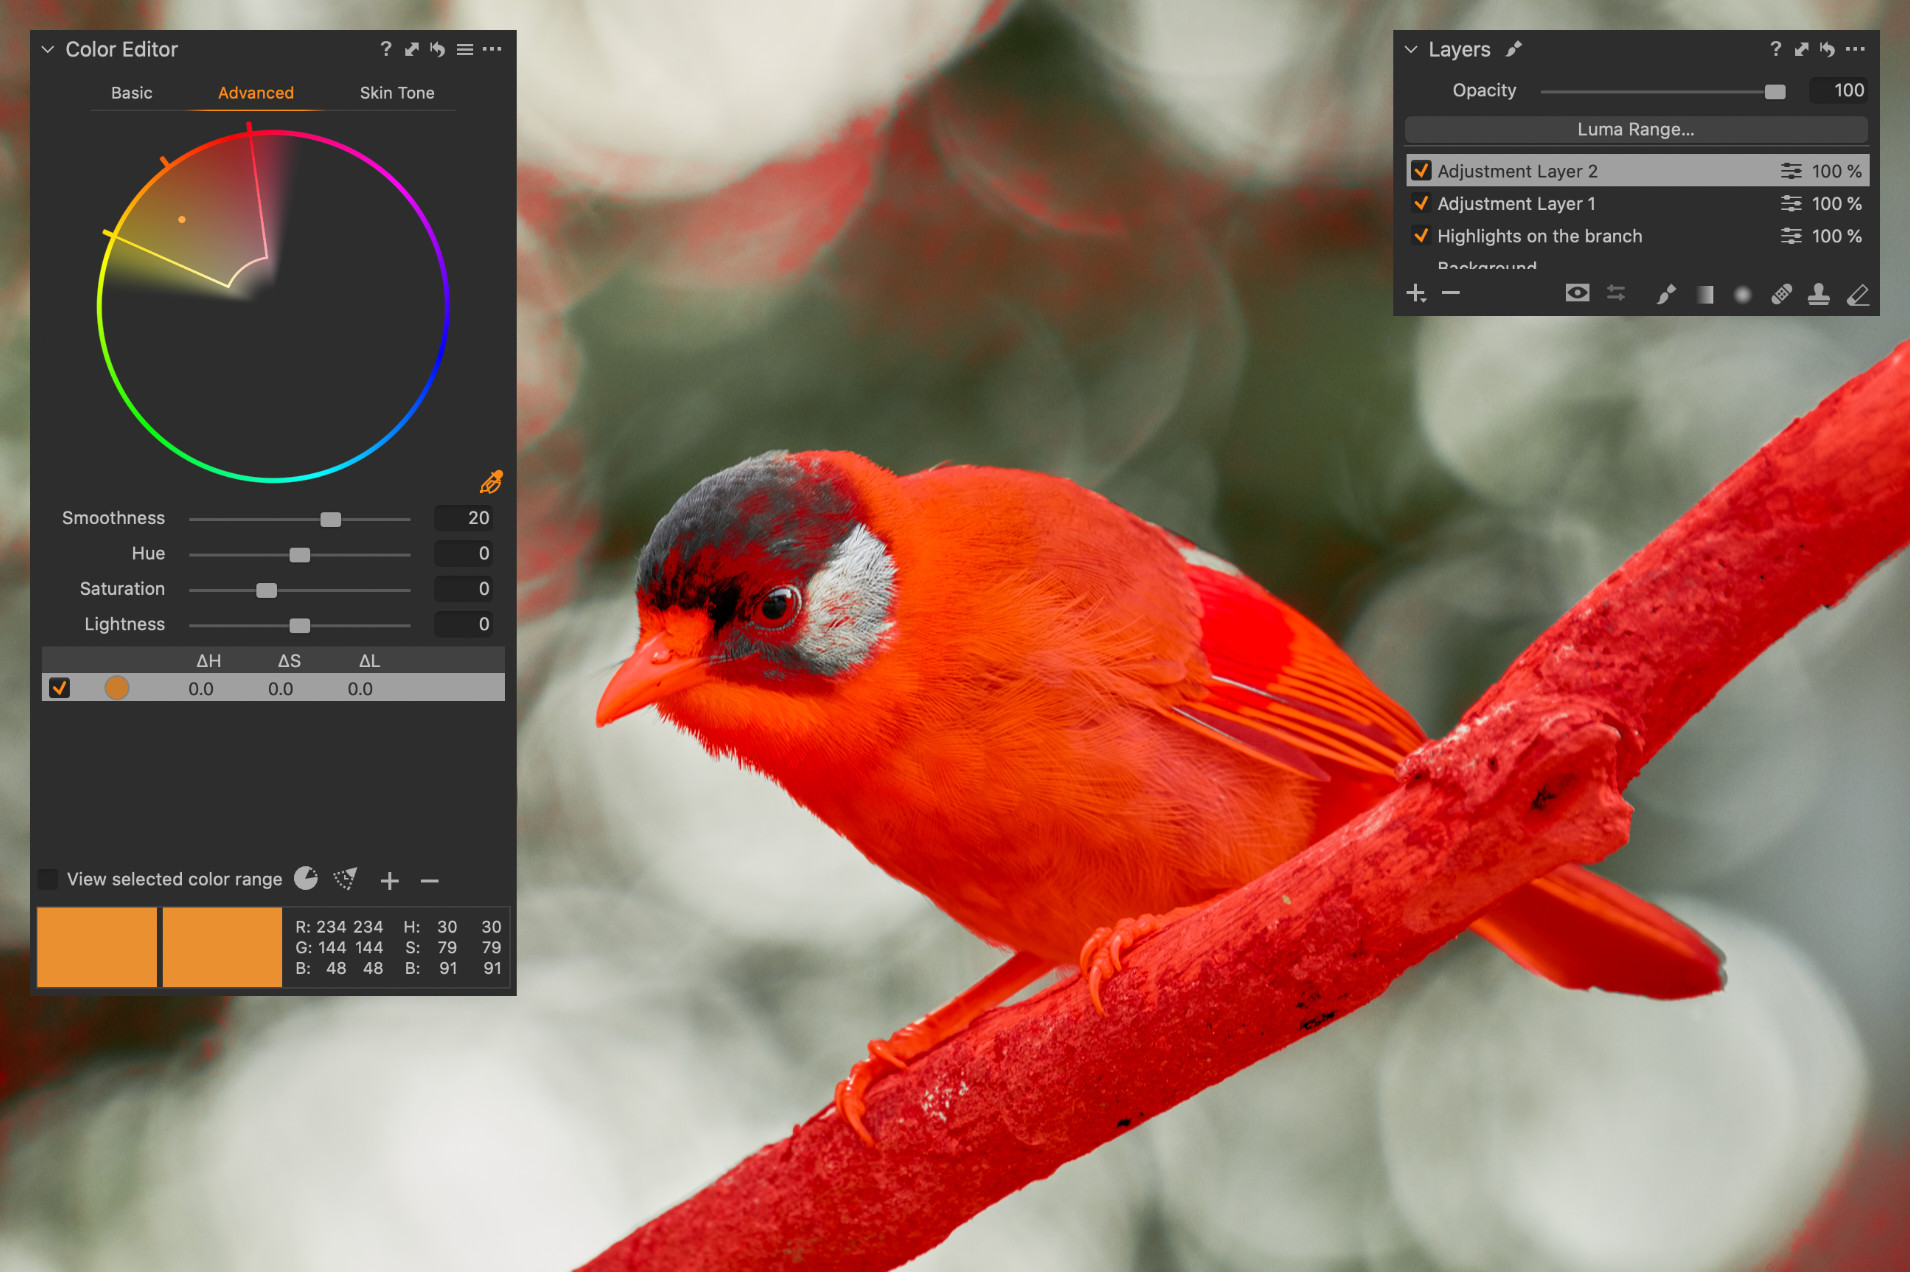
The way to limit the local adjustment mask to certain colors is available through the Color Editor tool, which doesn’t only allow you to modify selected colors, but can create a layer mask from a color selection too. The procedure is simple: the first step is to select a color in Advanced mode using the eyedropper and possibly precise the range by adjusting the selection in the color wheel:
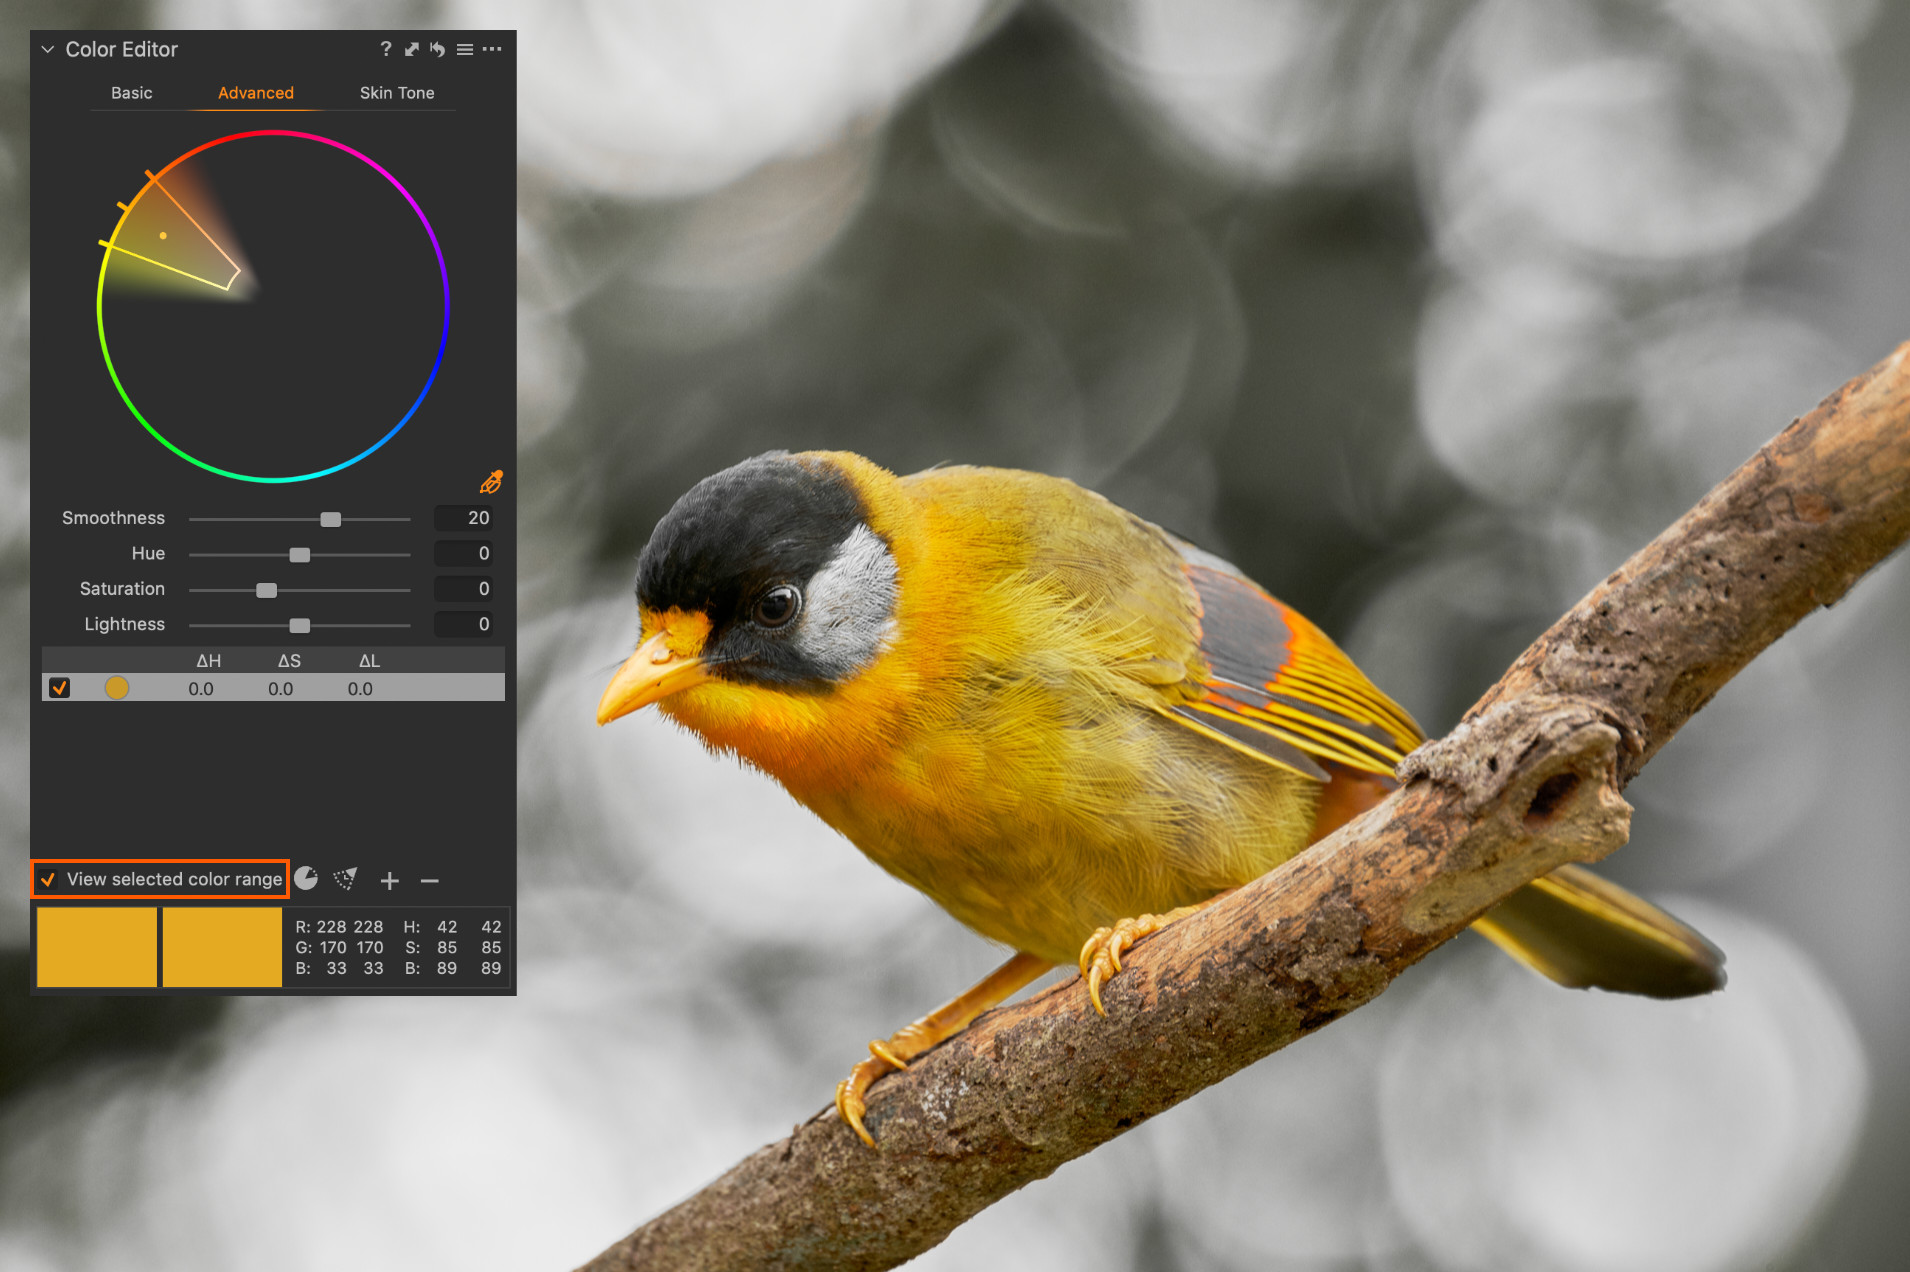
Do not use adjustment layers yet and work on the Background base layer. Precise selection could be best done by checking the View Selected Color Range option of the Color Editor, which keeps the selected colors visible and turns others into shades of grey:
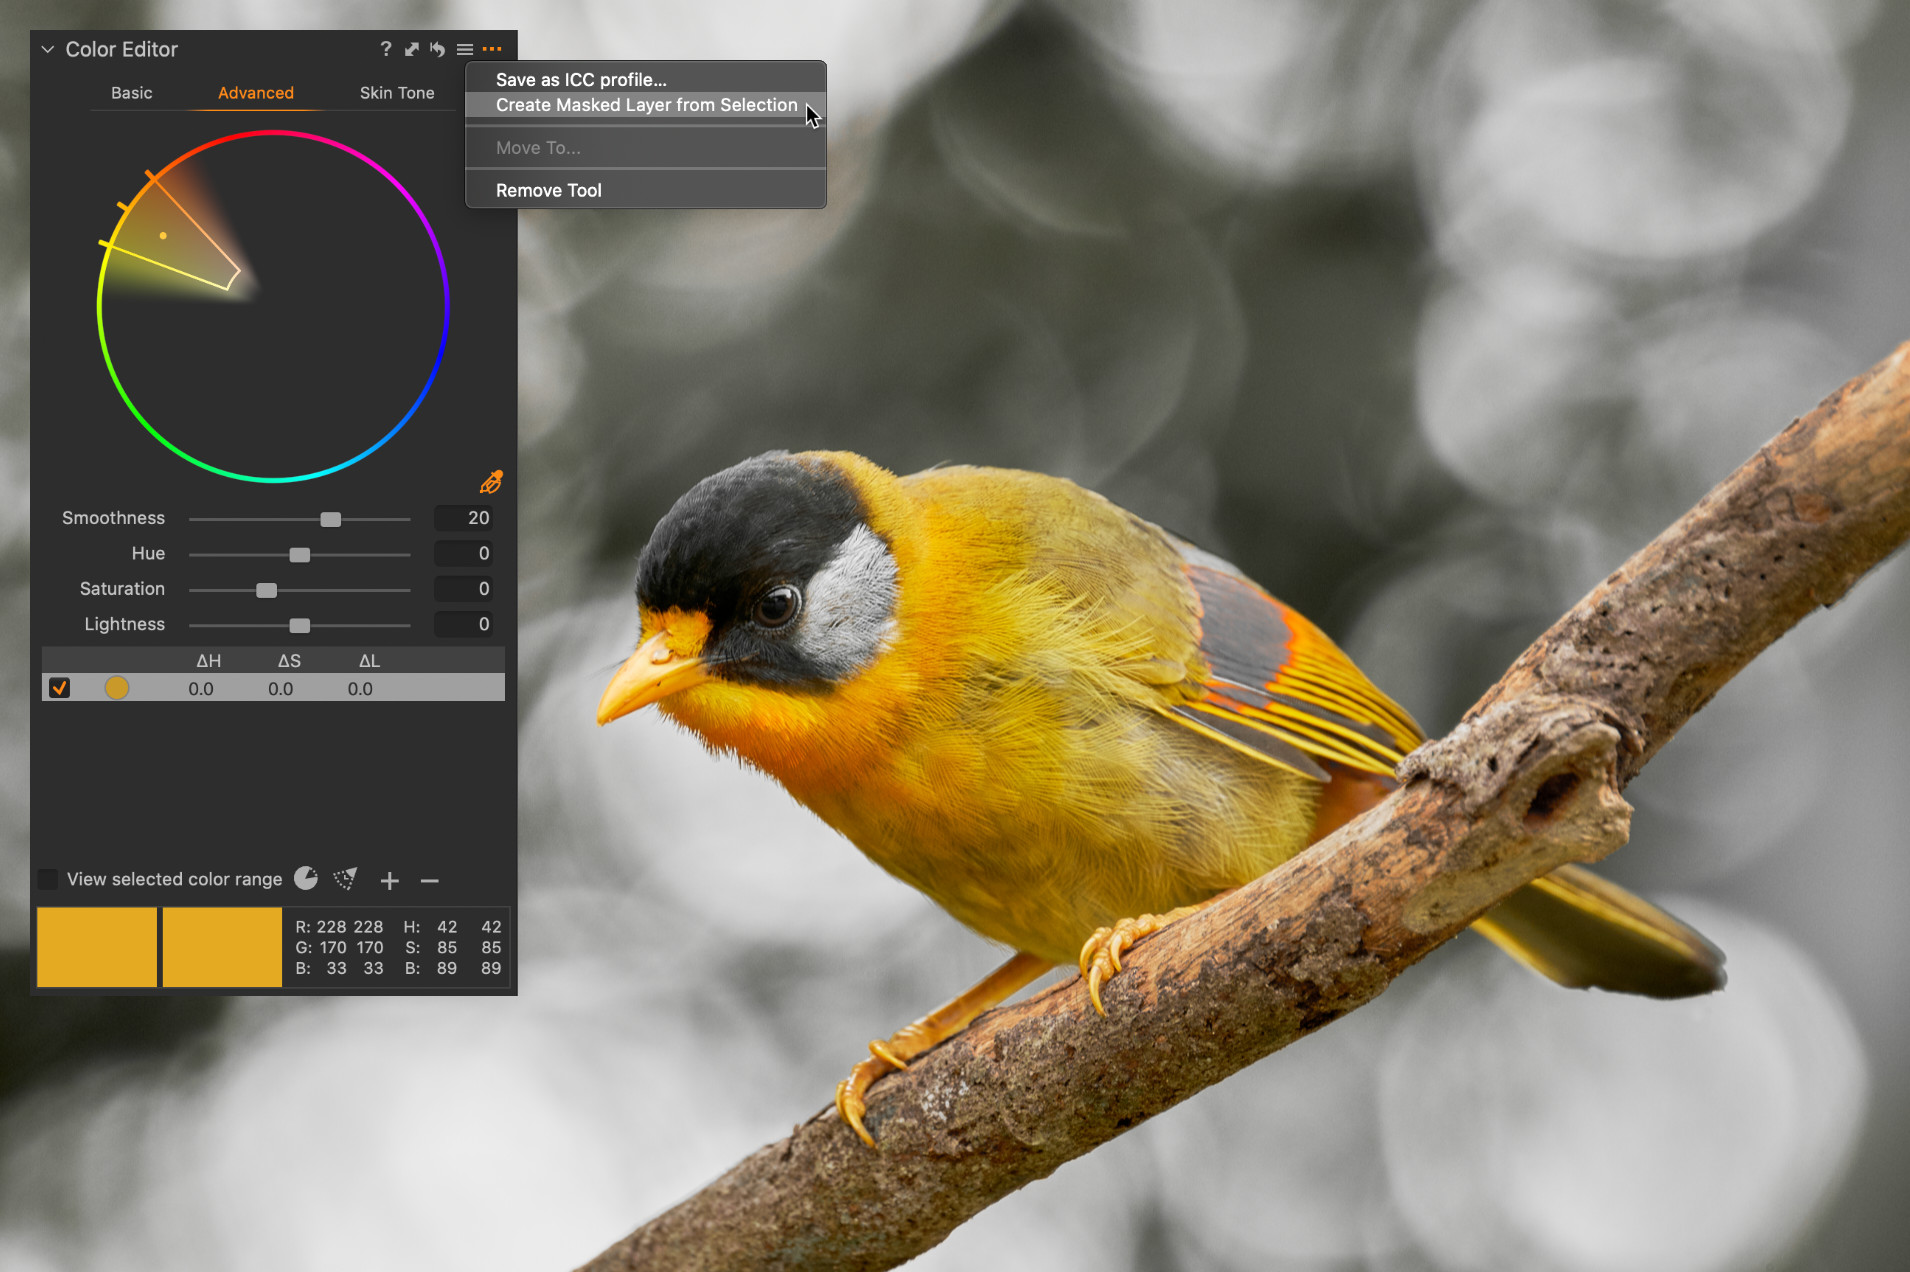
Once you’re happy with your selection, just convert it to a locale layer mask. You find the required function Create Masked Layer from Selection in the tool menu, which opens by clicking a button with three dots in the tool’s header:
In a moment, Capture One will create a new layer named Adjustment Layer 1 (number may differ if there is a layer of the same name) whose mask will exactly match the color selection of the Color Editor, including blending into adjacent hues and other subtle nuances:
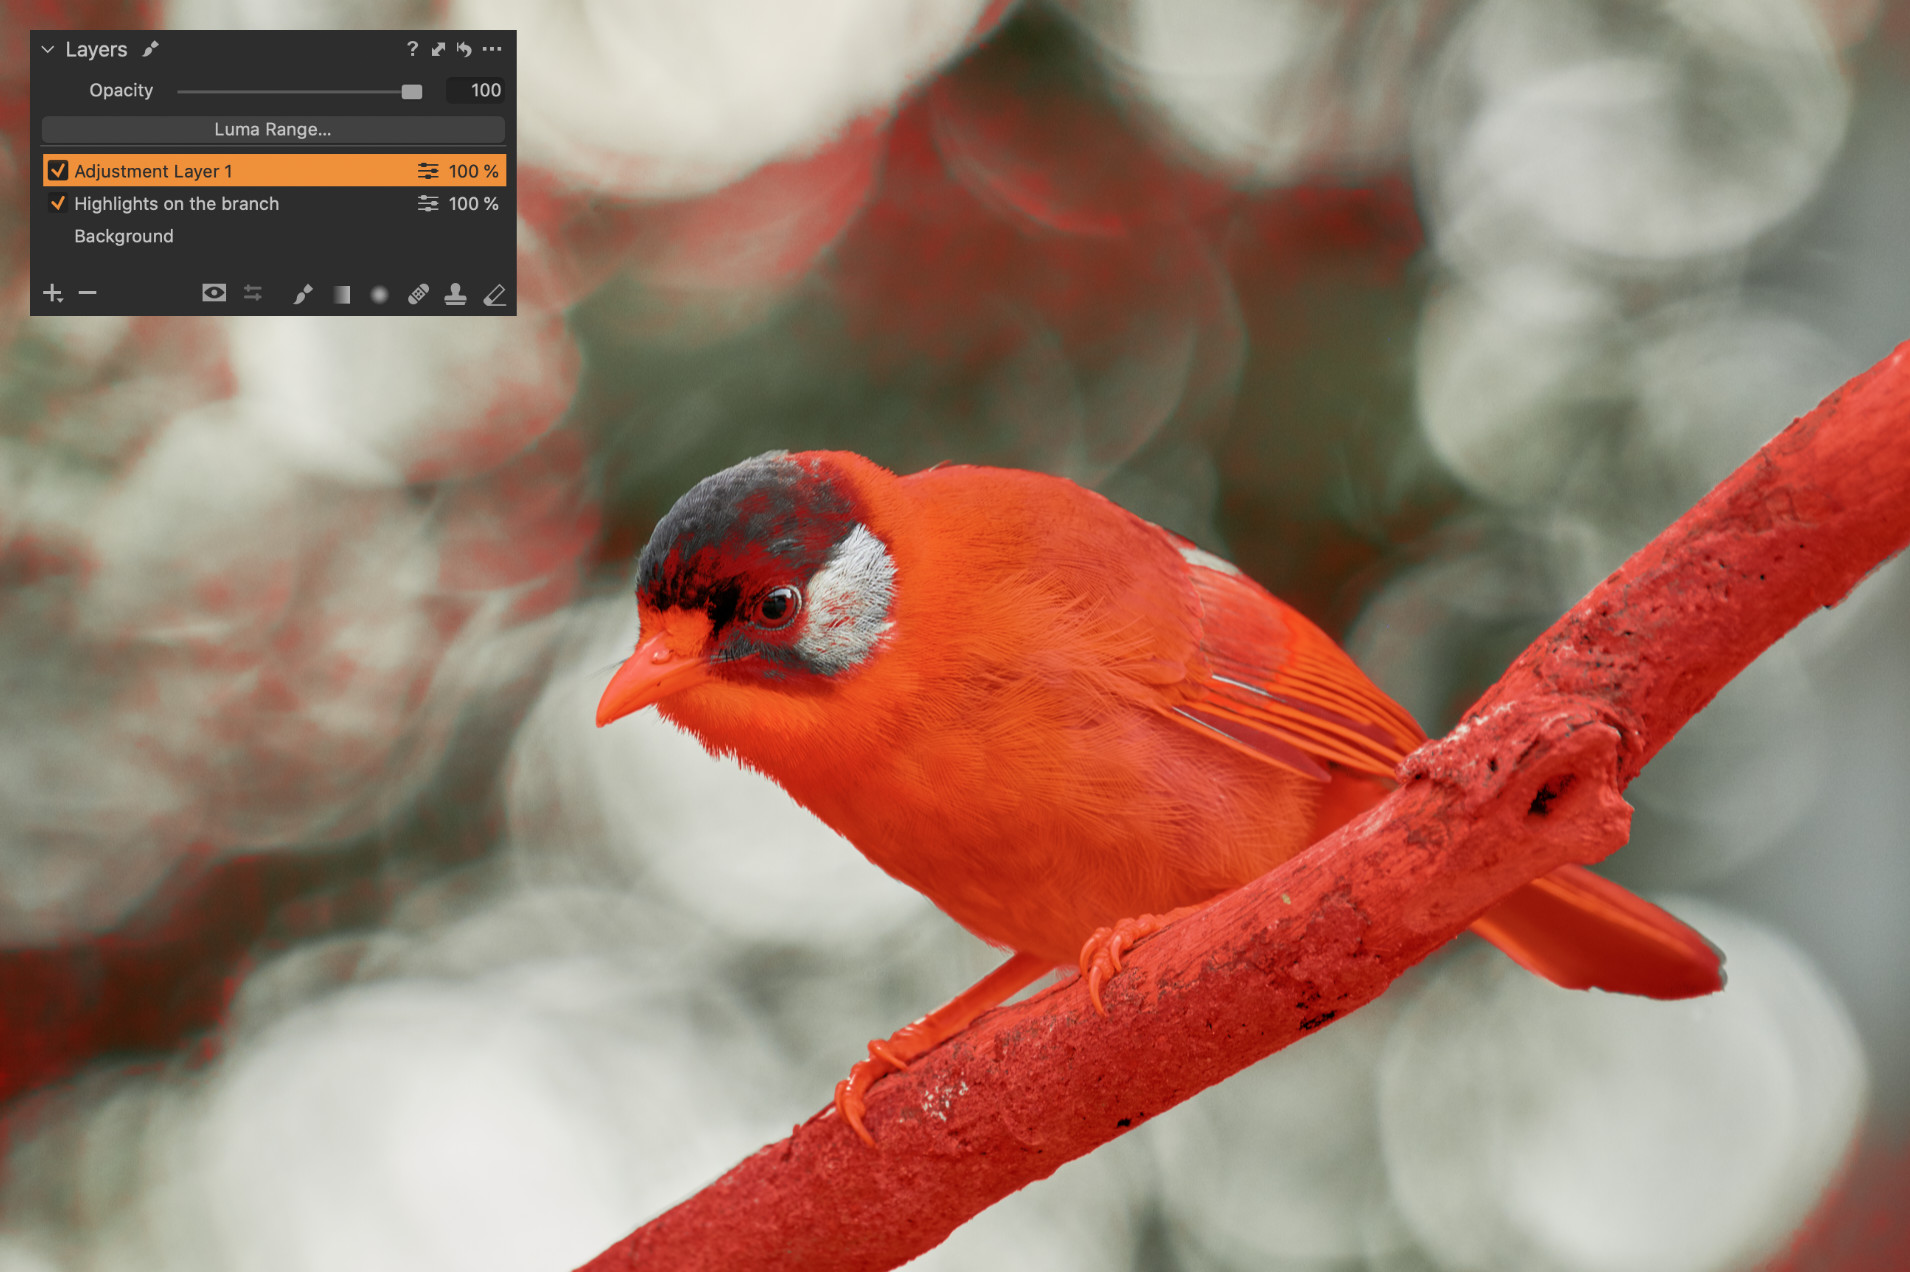
The mask is no longer tied to the original selection of the Color Editor. You can freely modify it with a brush and eraser from that moment and possibly apply the already mentioned Luma Range on it to limit its effect according to the luminance of the affected pixels, invert it or refine. The main disadvantage of this technique is that the color range of the mask cannot be easily modified. The only way to change it is to create a new mask and replace the existing one. The procedure starts with the same steps:
- create a new color selection (or change the original one) in the Color Editor in the layer Background
- create a new layer with an appropriate mask using the Create Masked Layer from Selection function
You now have a new mask on a different layer than the one where you previously made adjustments (Adjustment Layer 2 in my case). Therefore, it is necessary to copy it to our original layer:
- right-click on the layer with the original color selection and adjustments (Adjustment Layer 1) in the Layers palette
- select the Copy Mask From option from the context menu and then click on the name of the newly created layer in the submenu
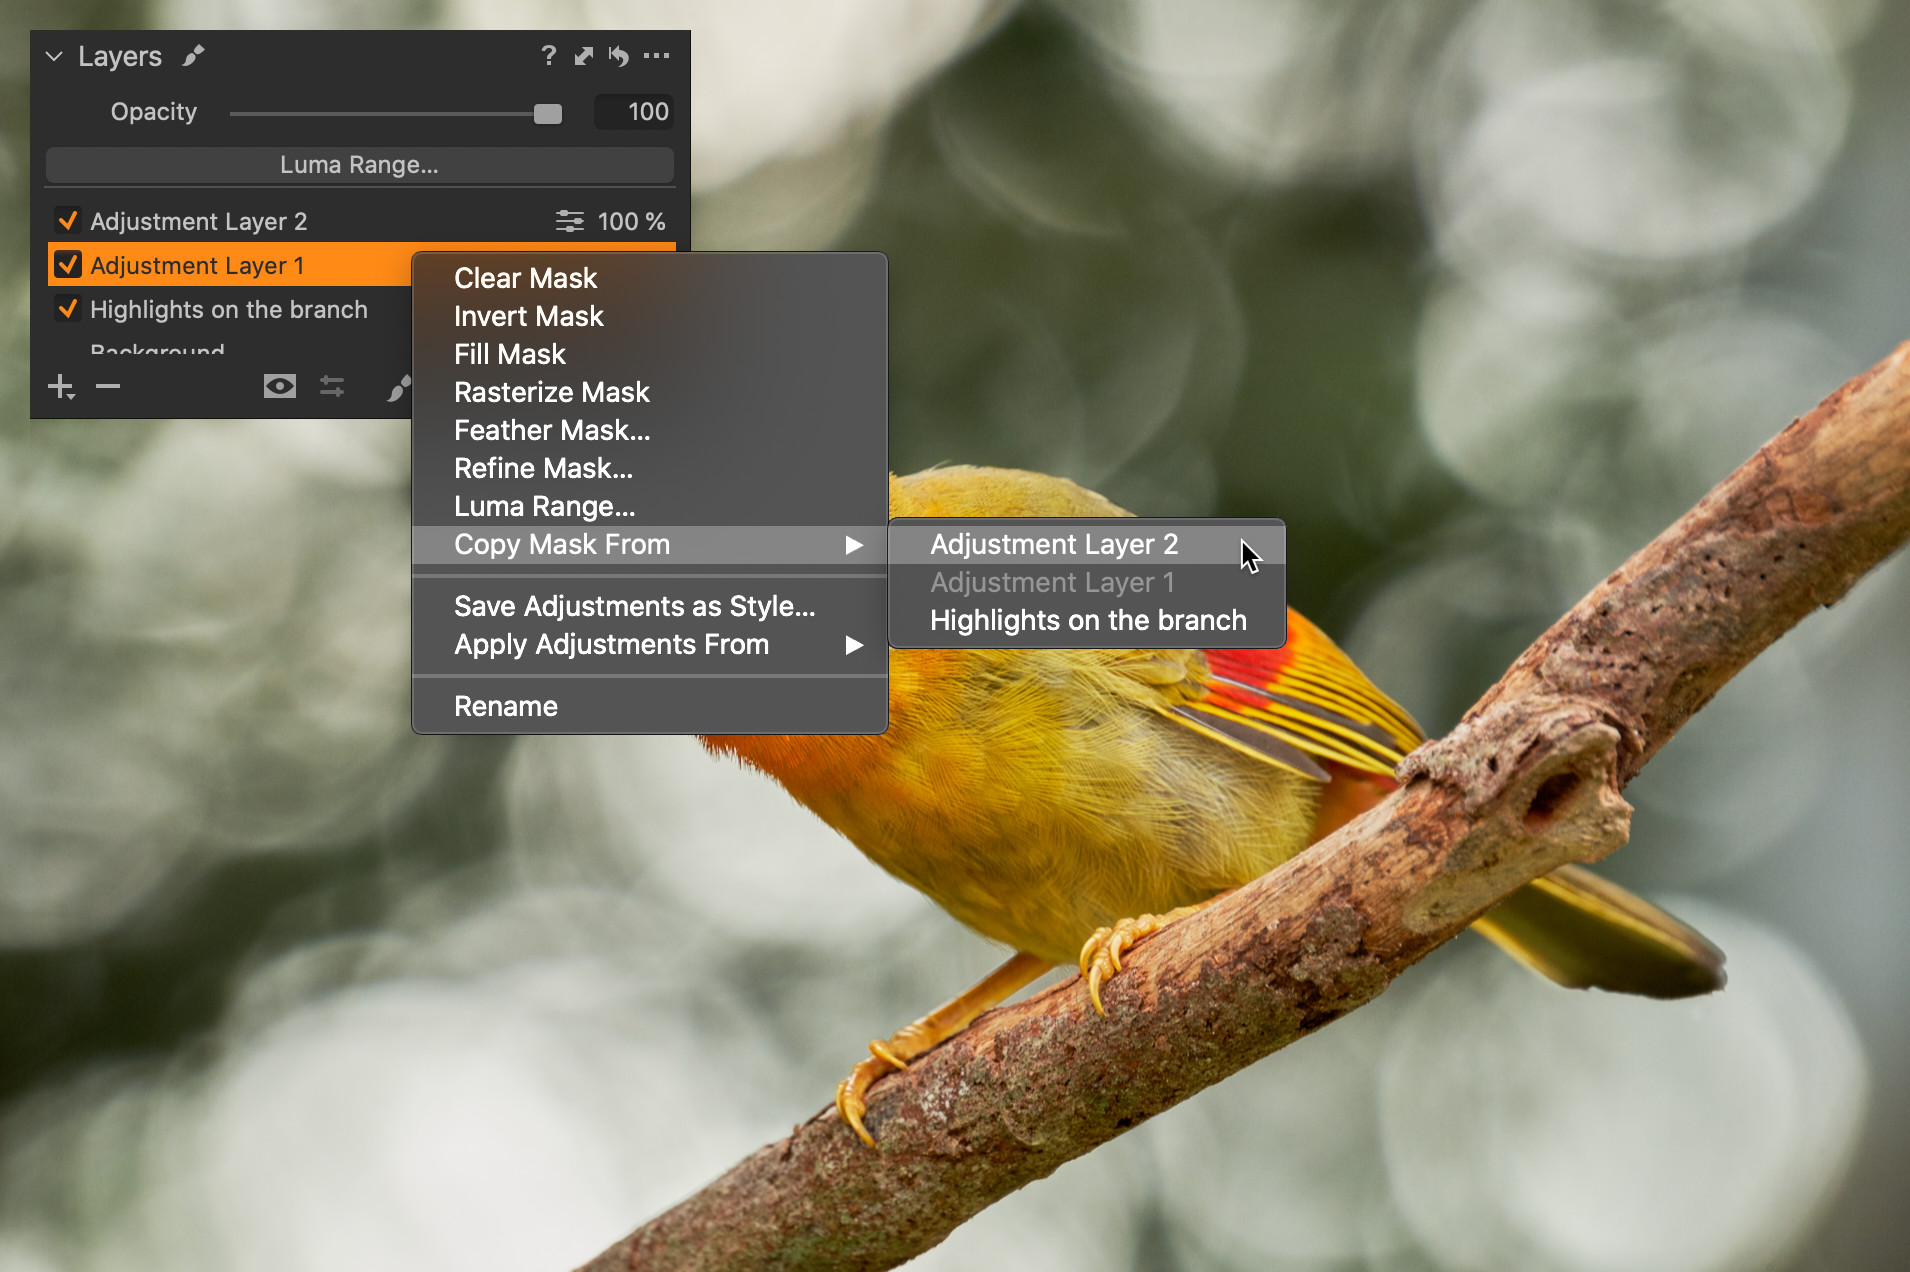
Now the original layer (Adjustment Layer 1) uses a mask with the new color range and all adjustments are applied according to it. You will no longer need the newly created layer Adjustment Layer 2 and you can delete it now.
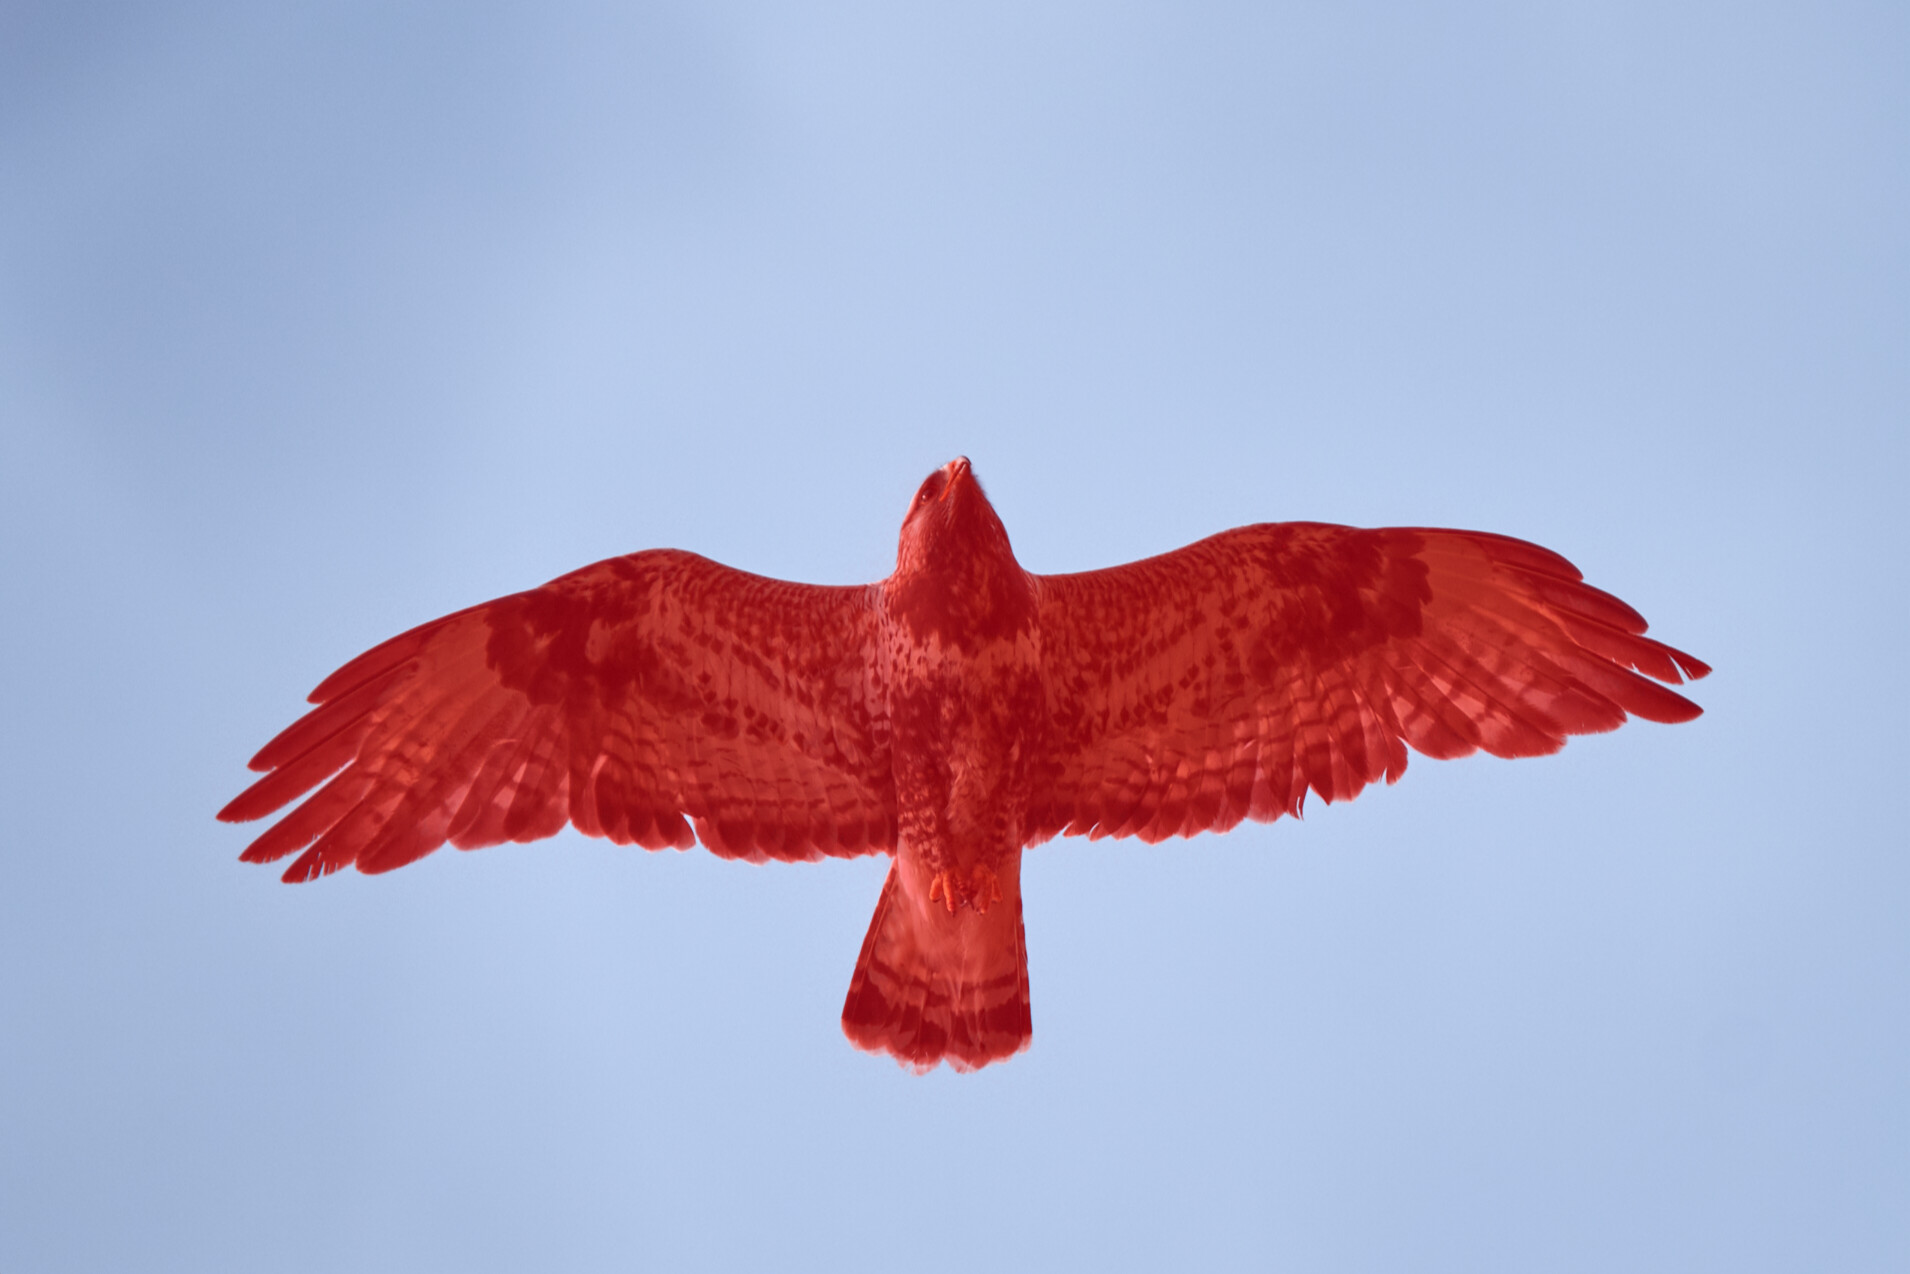
There are many ways how to use masks created from the color range — they can help you selectively reduce noise in the blurred background or sharpen the main subject, you can use them instead of linear gradient filter to edit the sky, and so on.
This method, of course, has limitations. First, you have to start by selecting colors and then possibly modify the mask with a brush — the real Color Range usually works by painting a rough mask first and then refining it by specifying colors that should be affected. If you alter the mask using a brush or eraser, you can no longer change the color range as I described earlier — in such a case, you will lose the brush made adjustments when copying the mask with the new color range. The real Color Range feature would be definitely more comfortable, and hopefully, it will appear in future versions of Capture One. Until then, this alternative may help you to edit your photos.
Do you want to master Capture One?
You can buy my e-book Capture One: Work Effectively — a complete guide to this professional photo management and editing application. The well-organized content helps you master the entire process, from importing and organizing photos to editing, managing metadata, and finally printing or exporting.
It also includes tips for those switching from other tools like Adobe Lightroom, as well as a detailed description of my own workflows that I’ve refined over years of using Capture One to process my photos.
The e-book is available in formats suitable for e-book readers and as a more than 400-page PDF.